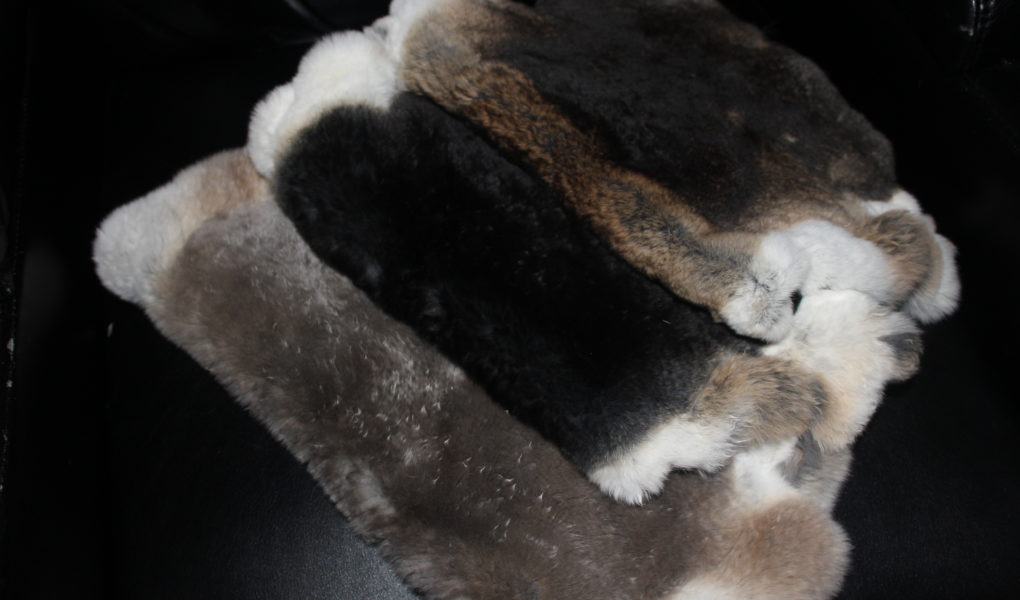
Tanning hides is a good way to lessen the waste from processing. The finished product can be used for decoration, arts and crafts, blankets, clothing, etc. Here I have a couple of different methods dependent on how many hides you have. These methods can be used on other hides as well, I just use it for my rabbit hides.
*FINALLY, A Smart Coop For Chickens (CLICK HERE)*
Salt & Alum Method
This method is best for when you have a lot of rabbit hides to process.
You’ll need . . .
1 cup alum (aluminum sulfate)
1 cup non-iodized salt
3 gallons warm water
10-14 rabbit pelts
Instructions:
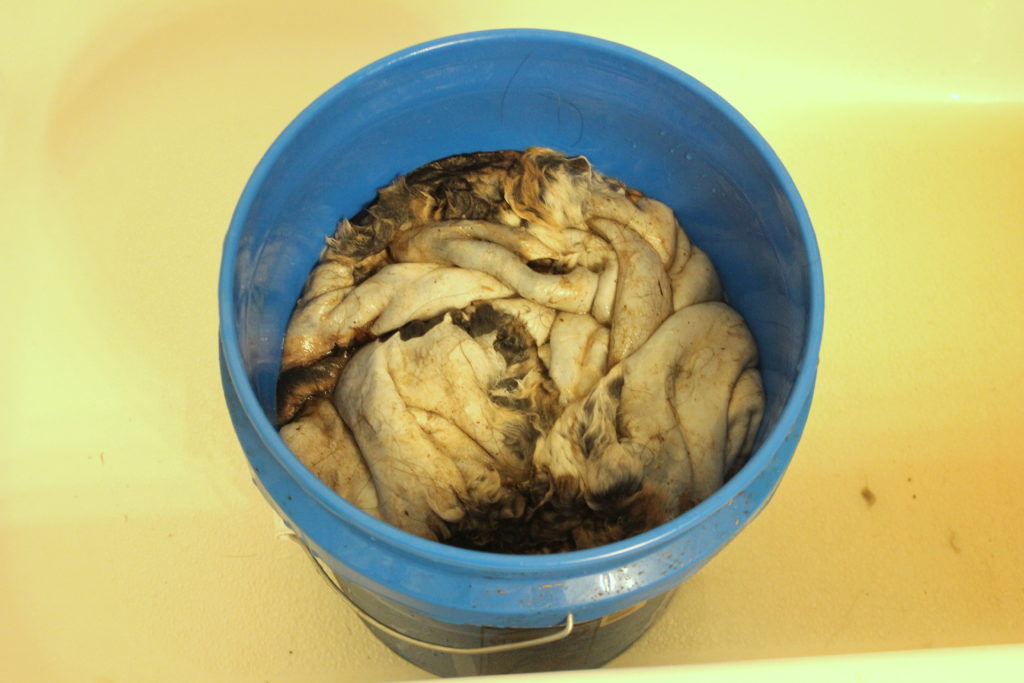
- First you want to create your pickle solution to soak the pelts in. Do this by mixing the water, salt, alum into your 5 gallon bucket.
- Next add your rabbit pelts, pushing them into the liquid and ensuring that they are fully submerged. If needed add something heavy on top of the pelts to help keep them submerged.
- Soak pelts for the next 5-7 days, stirring them daily to prevent hair slippage.
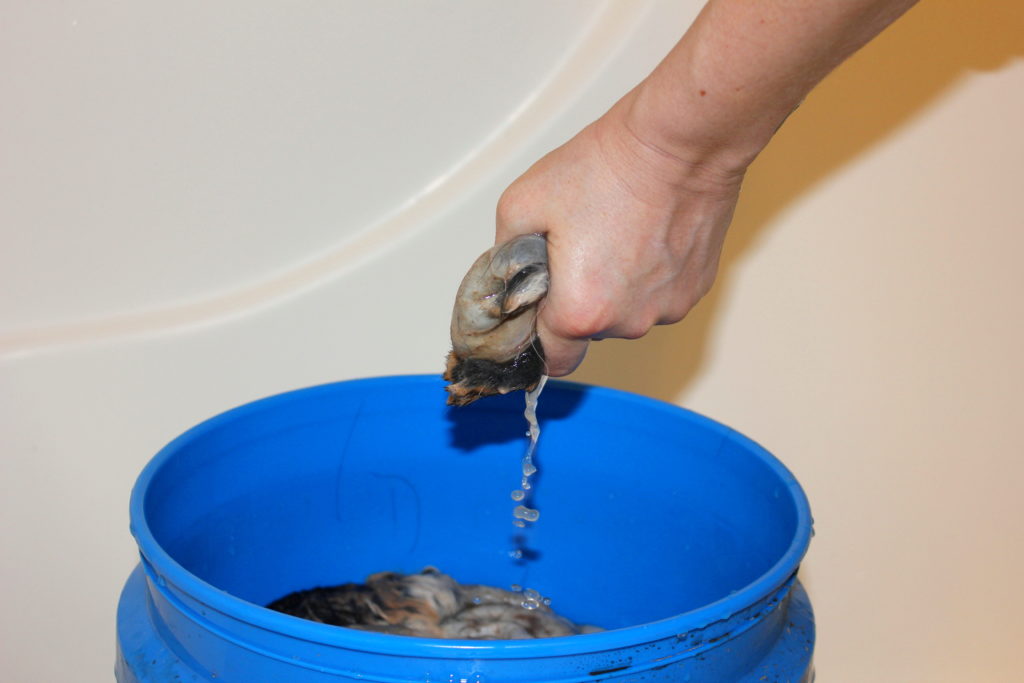
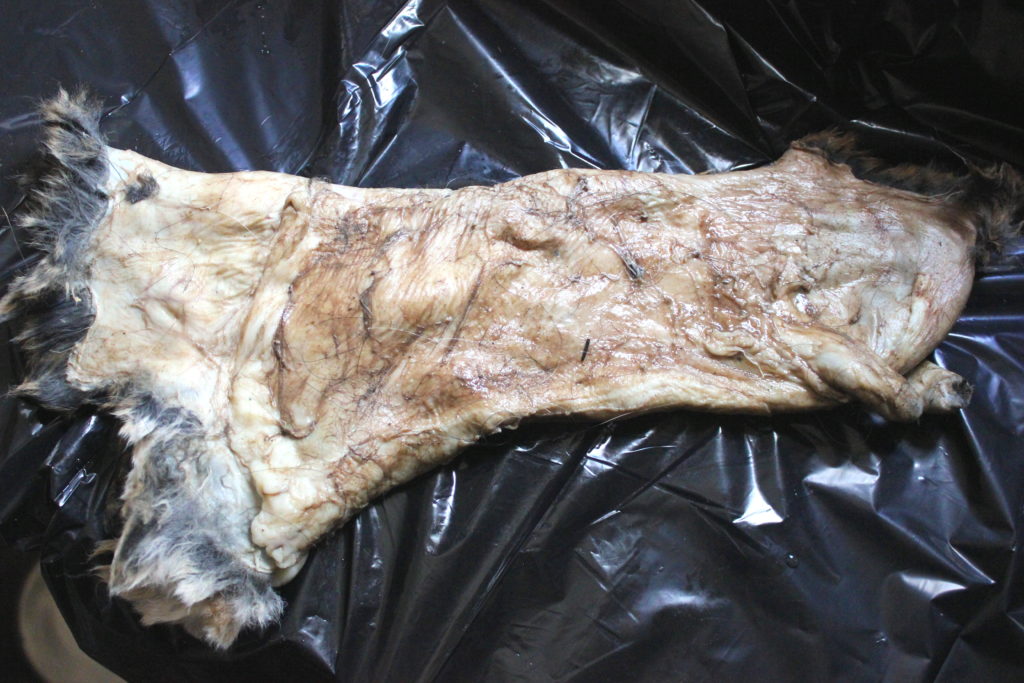
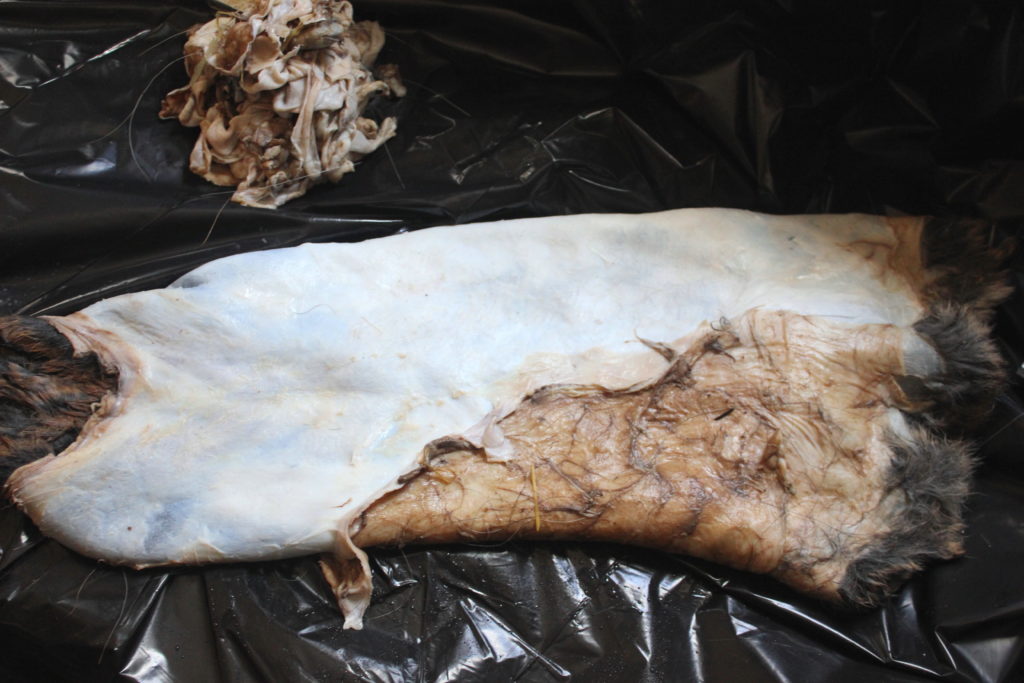
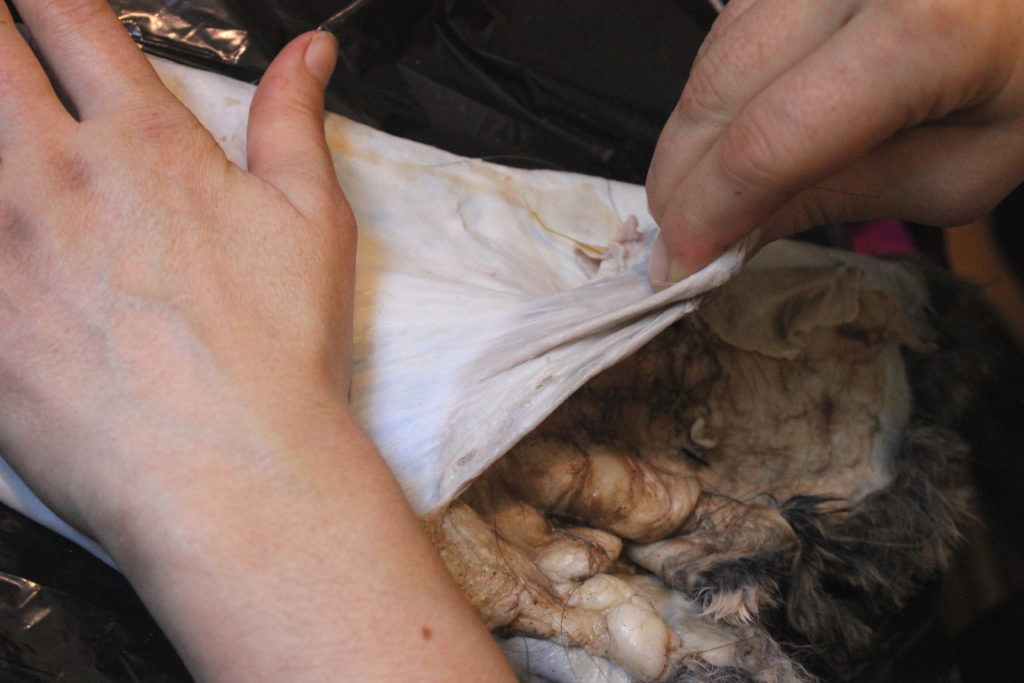
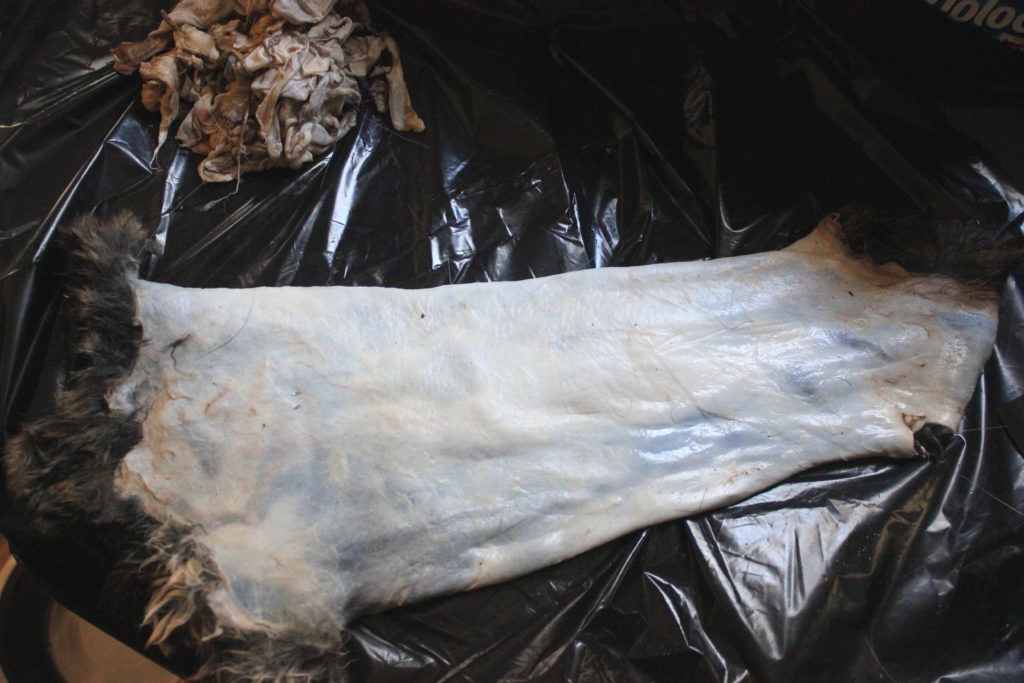
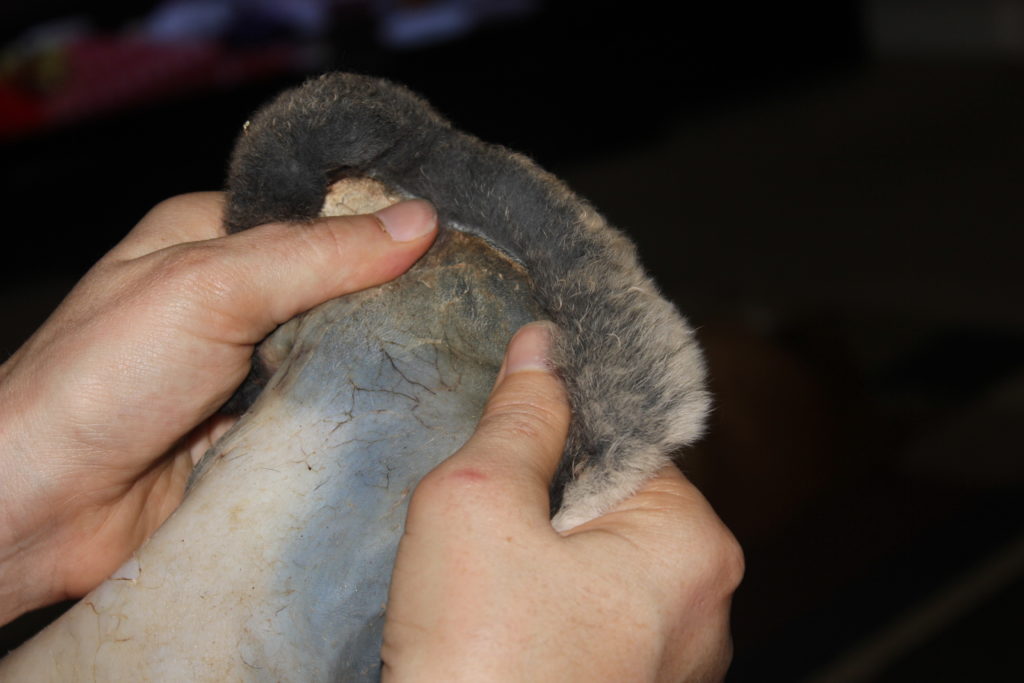
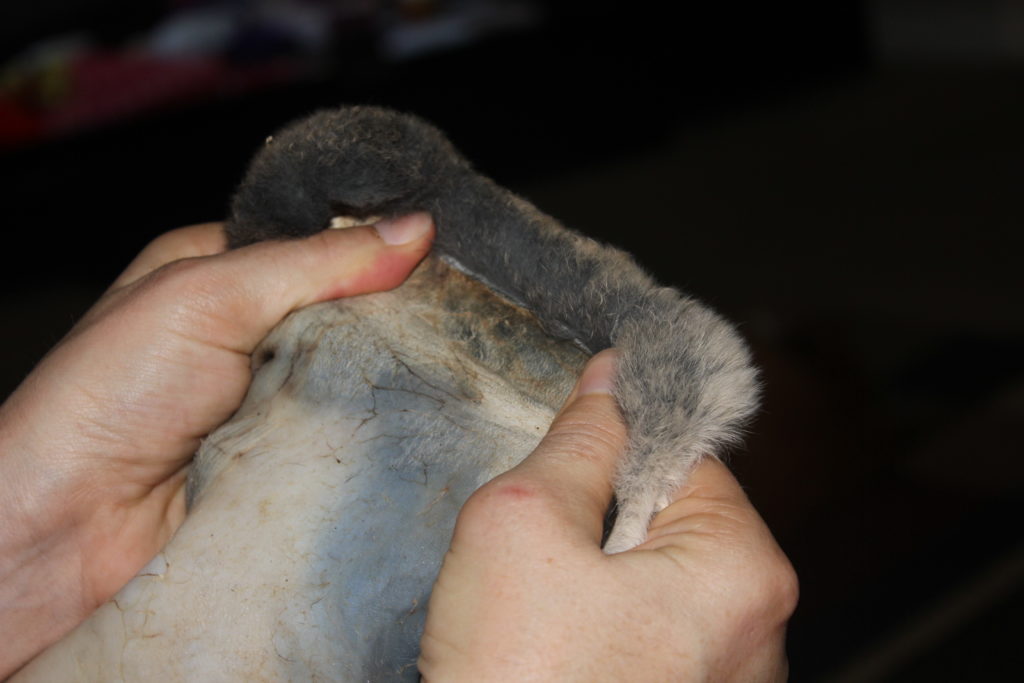
- Now it’s time to flesh the hides. Remove the hides and gently squeeze out the excess liquid back into the bucket. Don’t toss the liquid! You’ll need it for the next step. To flesh the hides you’ll either use your fingers or a fleshing tool to remove the fat and excess flesh from the skin. I personally just use my fingers when it comes to rabbit hides as it’s easy enough to do without a tool.
- Once fleshed, add an additional cup of alum and salt to the bucket so that you have a solution that is twice as strong.
- Add your pelts back into the bucket and continue to soak for an additional 10-14 days, stirring twice daily.
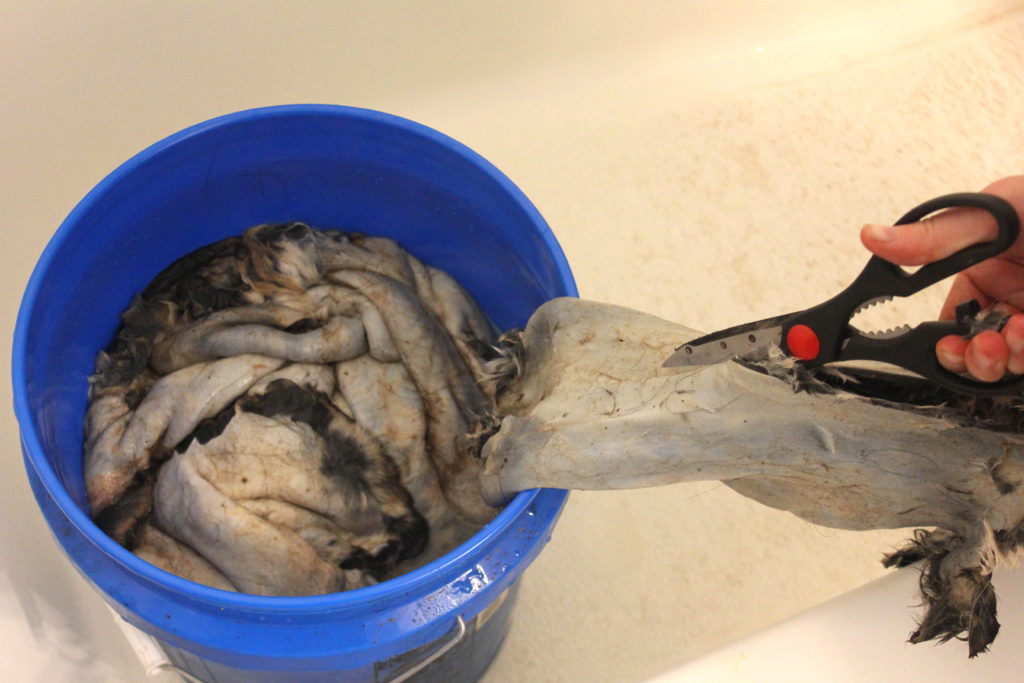
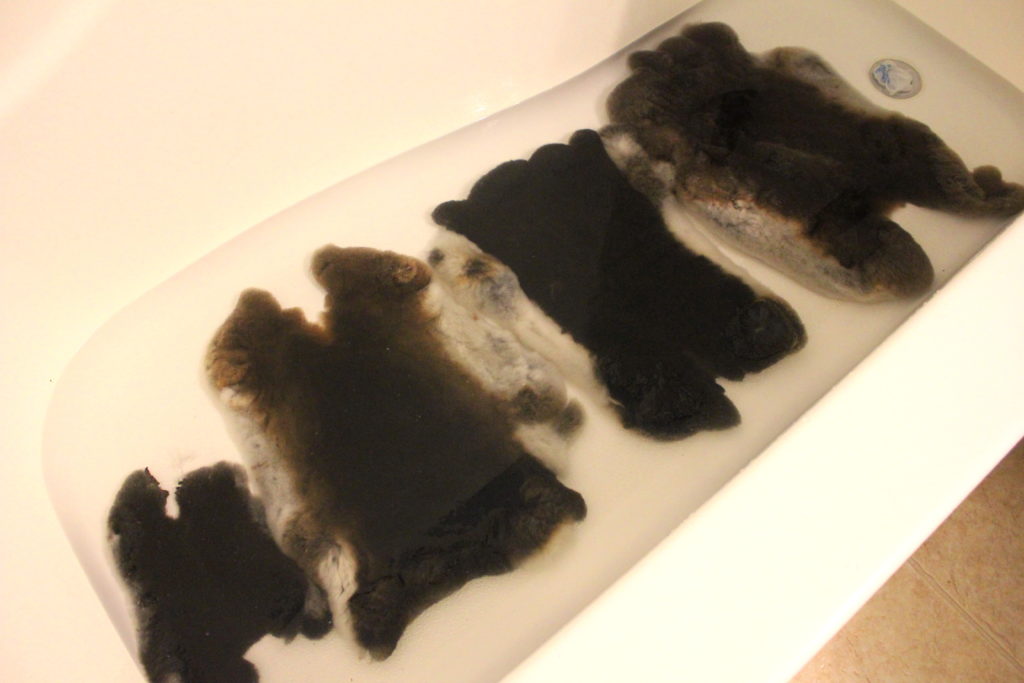
- Time to clean up the hides. Remove and squeeze out hides and place them into a bathtub. Dispose of the pickle solution responsibly where animals can’t get it, or plants won’t get burned. Cut hides in half and soak in warm to cool water for 20 minutes, drain, and then soak again for an additional 20 minutes. Do this until your water is fairly clear.
- You’ll likely want your hides to smell good and not dead, so lather up the hides with some scented shampoo, and let it sit for up to 5 minutes. Rinse well and squeeze the water out of the pelts.
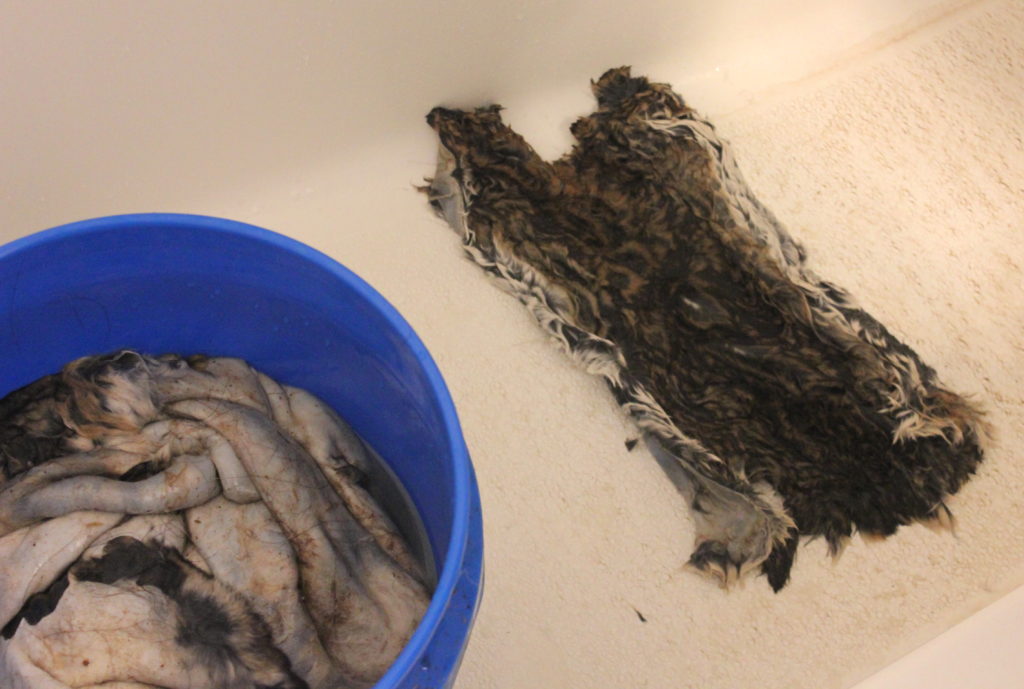
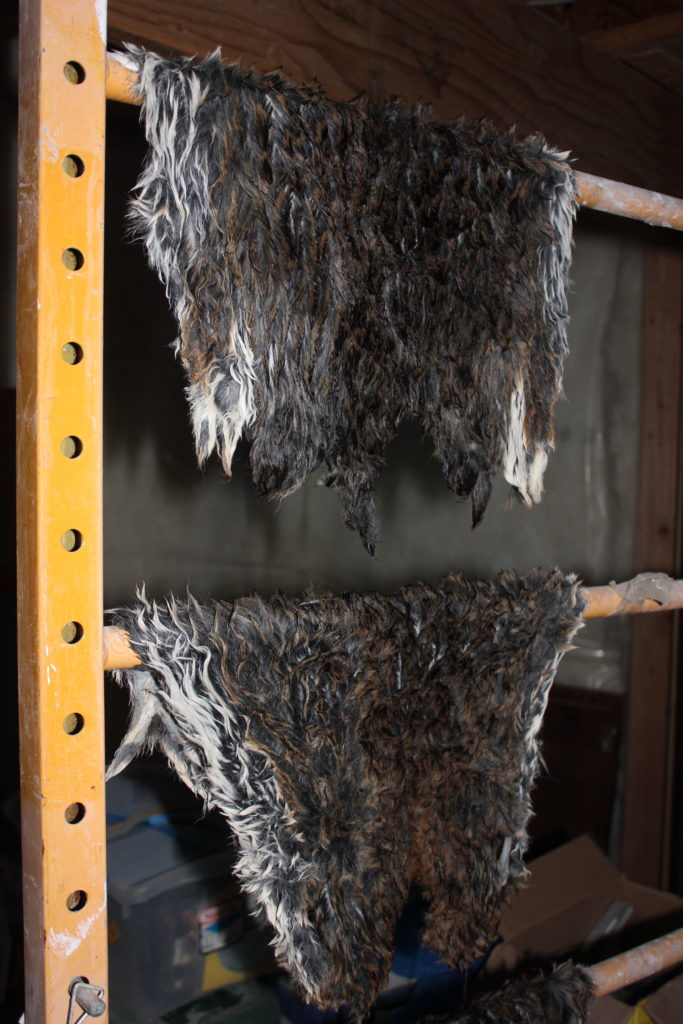
- Next you’ll want to hang your pelts up where they can begin to dry. As the pelt dries and shrinks, you will want to take each pelt and stretch them back out about 2-3 times per day. This is called “breaking the leather” or breaking the fibers up which will give you a nice soft leather. If you don’t stretch it out you will end up with a hard crinkly hide. The more often you can stretch out the hides, the softer they will be. I find it’s best to work the hides 3 times during the day, hanging them each time. And then I put them back into the bucket they were originally pickled in at night to slow the drying process down. This helps moisten the hides back up where they might have gotten too hard, and they can be stretched back out in the morning and hung to dry for the day time.
- Once your hide is dry you can further soften it by rubbing it over a rail, board, or chair before finally applying some mineral oil to the hide to finish it off. Stack hides leather to leather and fur to fur so that none of the oils applied to the leather gets on your furs.
**QUIRKY FUN dog beds by FunnyFuzzy (CLICK HERE)**

Additional Tips
-If pelt dries too fast, you can wet it back down to soften it back up.
-The older the animal, the more difficult it will be to skin and flesh. Ideally you’ll want to process rabbits under 4 months old.
-Store pelts leather side to leather side so that the oils don’t get all over the fur.
-Pelts can be frozen until you have enough to begin the tanning process.
Why Non-Iodized Salt?
Several tanning recipes specifically warn not to use iodized salt in your tanning process, but then fail to say why. I’ve looked into this, and essentially, iodized salt is more expensive and can potentially stain your leather. But in a pinch it can be used with little difference in the end product. Non-iodized salt can also wick away moisture more efficiently than the iodized.
*Check out these QUIRKY FUN dog beds by FunnyFuzzy (CLICK HERE)*
Egg Yolk Method
This is a good way to tan hides when you only have a few to process. It’s similar to brain tanning but much less disgusting.
You’ll need . . .
1 egg yolk per rabbit hide
Cloth large enough to cover hides
Bucket of water
- Lay your rabbit pelts out on a flat surface and generously salt the fleshy side. Allow to sit for 2 days. You can tack them down on a board but I don’t as I like to wash them afterwards anyway.
- Remove the salt from the hides with a knife or flat tool and flesh hides, wetting them down in a bucket of water will make this easier to do.
- Next beat your egg yolks and pour onto damp hide. Massage it into the leather, making sure not to get it on the fur.
- Lay damp cloth over hide and allow to sit for 2 more days.
- Rinse the egg yolk off of the hides and wash with scented shampoo.
- Squeeze excess water out of hides, and continue with the same drying process as listed above.
Reference: Good Simple Living on YouTube
Related Post: Processing A Rabbit
Recommended Products (clickable)